Easy Way to Dye Egg Using Onion Skins
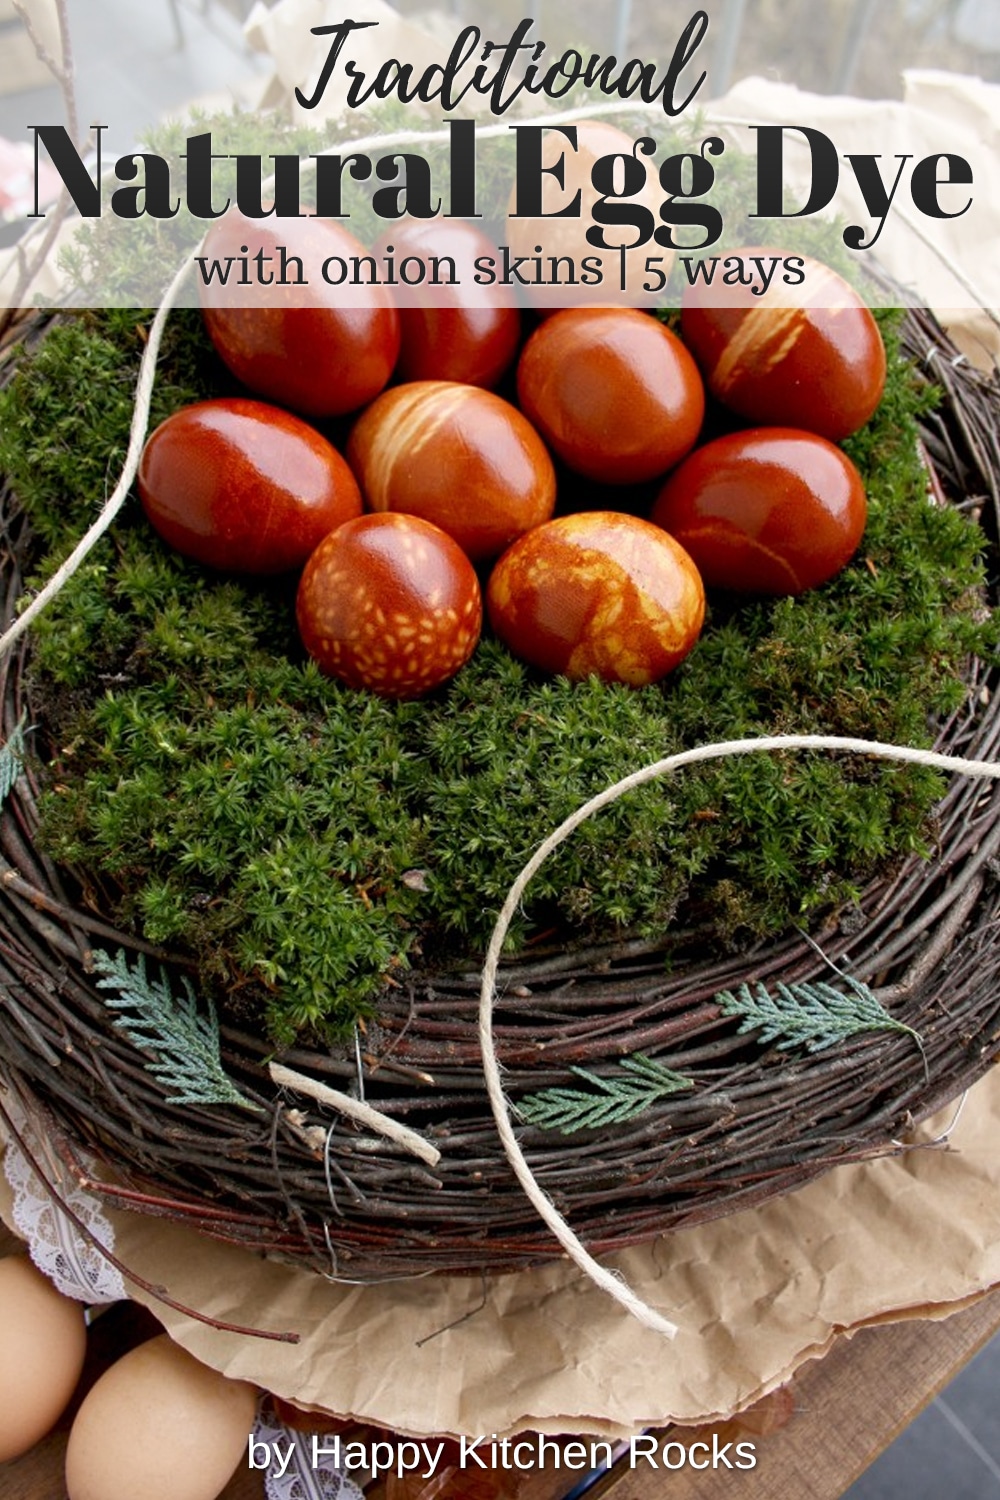
Natural Egg Dye with Onion Skins: My grandmother's traditional Russian recipe. The most beautiful, cheap, easy and natural egg dye for your Easter brunch. It gives an amazing range of various shades of red and brown.
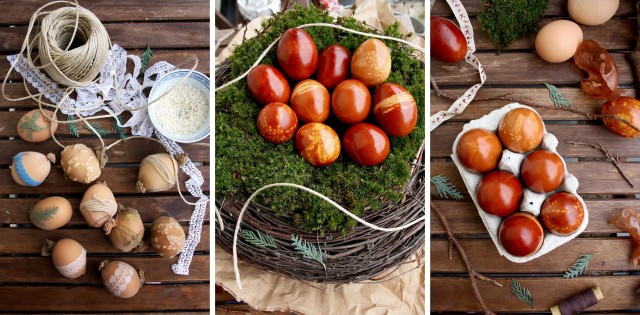
Easter is around the corner, so I'm sharing my grandmother's recipe of the most beautiful, cheap, easy and natural egg dye: onion skins.
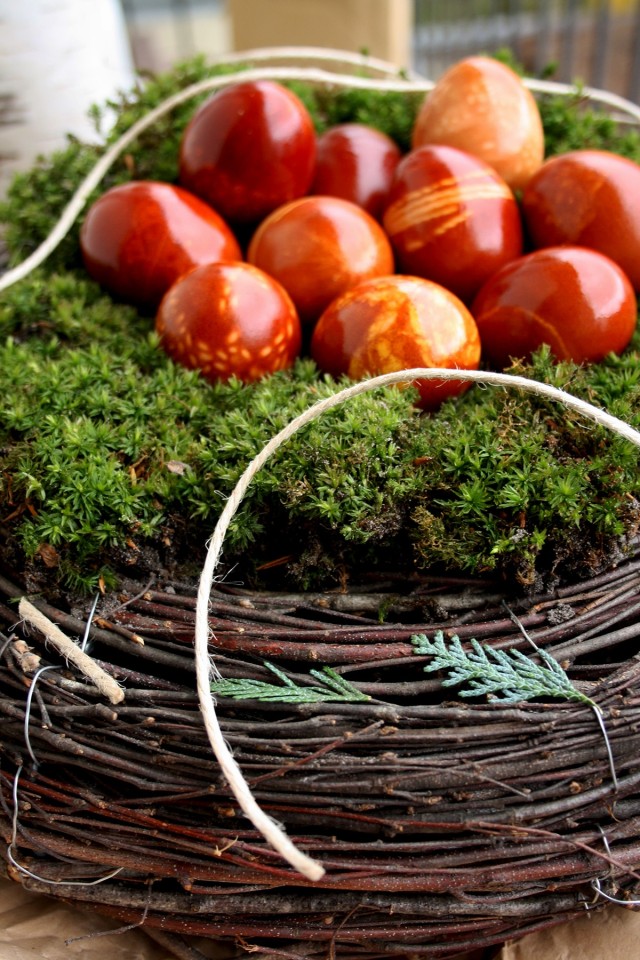
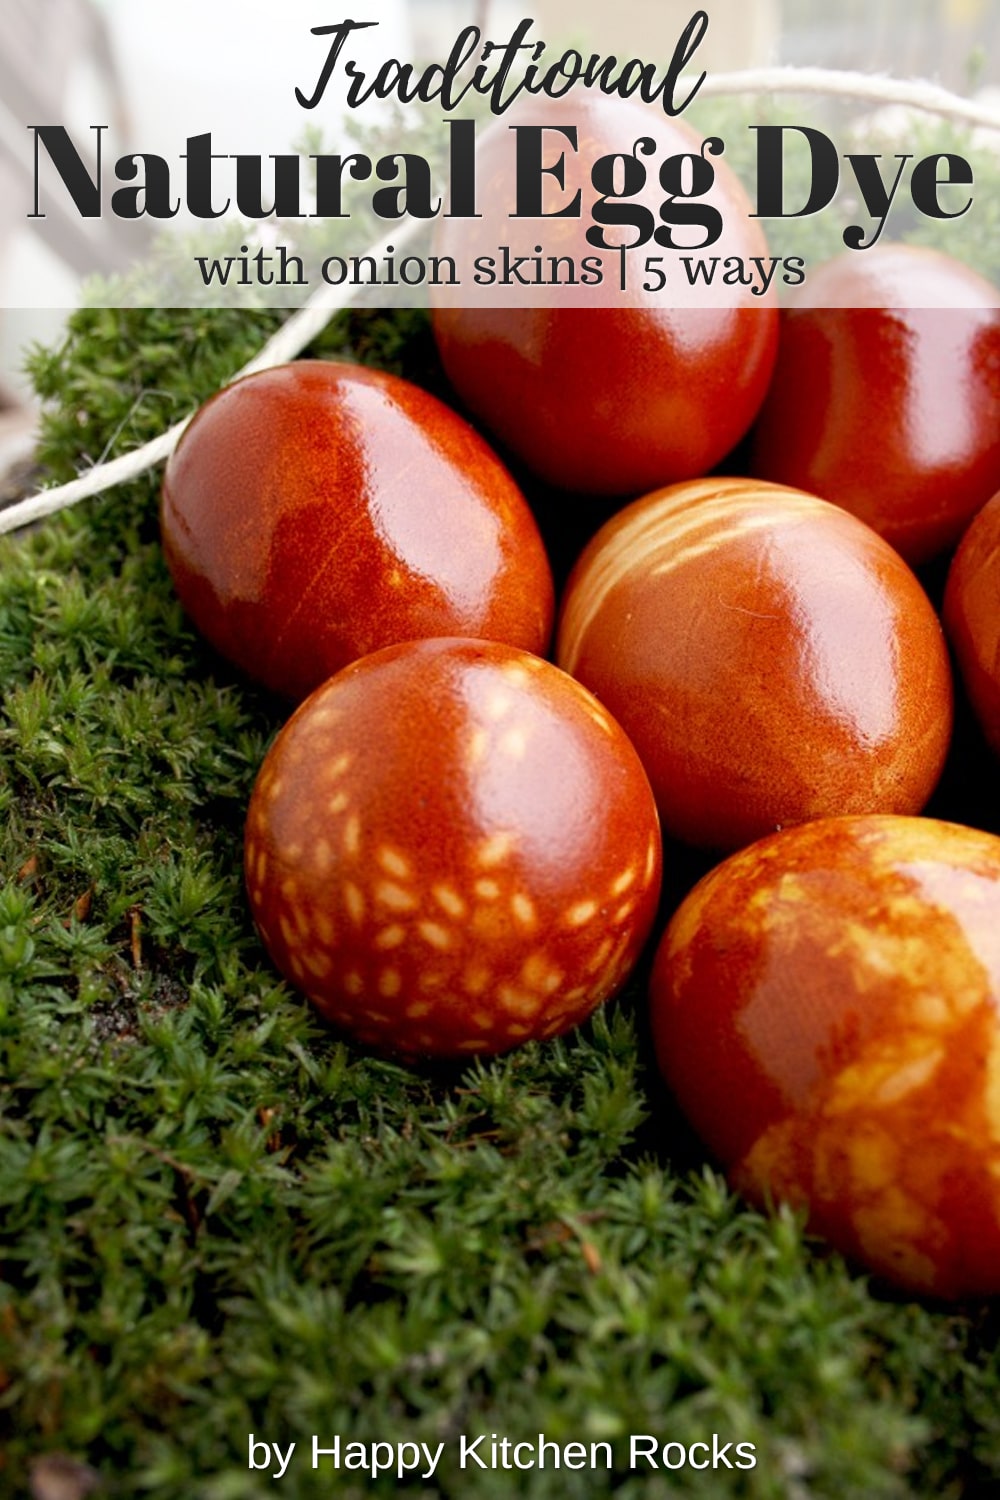
I t gives an amazing range of various shades of red and brown, while keeping the egg white naturally white underneath.
And don't worry, your eggs won't taste like onion. They will taste like eggs and look great on your Easter table.
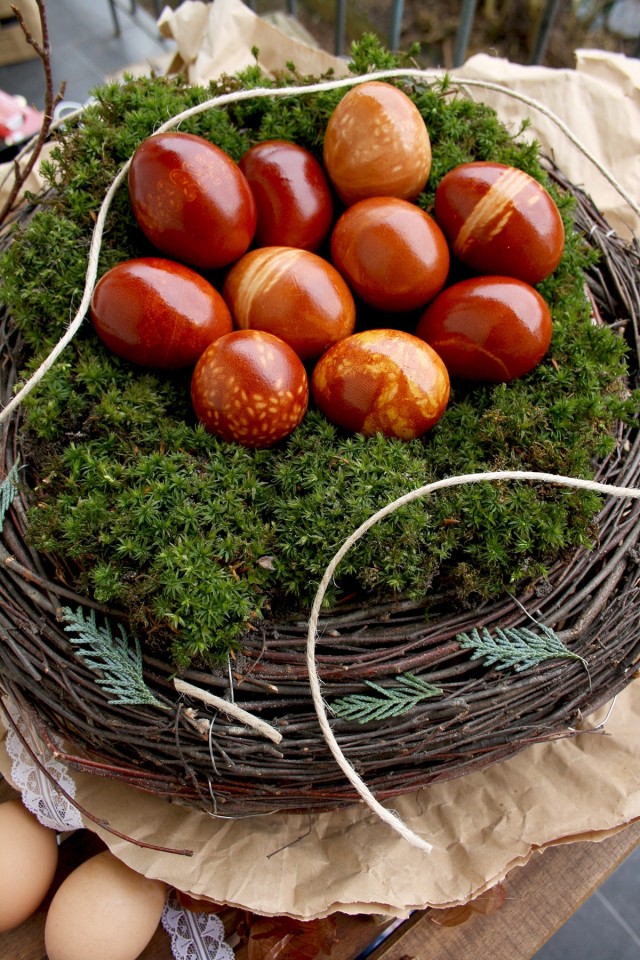
Natural egg dye with onion skins is an ancient Russian/Ukrainian tradition and probably the most popular way to dye Easter eggs .
No one has come up with an easier, more natural, accessible and beautiful method than this for centuries, so it's really worth to try this year.
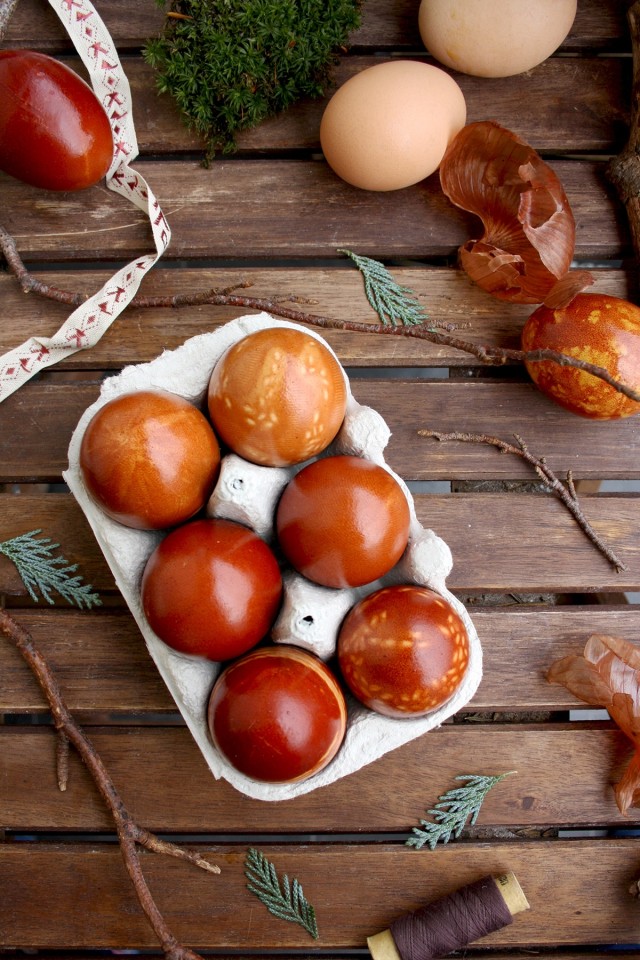
The greatest thing about this natural egg dye, besides its simplicity and low cost, is that it gives you a high degree of flexibility with colors and patterns.
I'm sharing five different pattern ideas with you today, which you can easily make at home. It's a nice and fun DIY project to try with your family before Easter.
You will need dry skins from about 8-10 onions and 10 washed eggs. I used yellow onion, but if you want your eggs to be darker, use red onion.
There is no difference what eggs to use, white or brown, but the lighter the egg, the less intense it will be dyed. My eggs are different shades of brown.
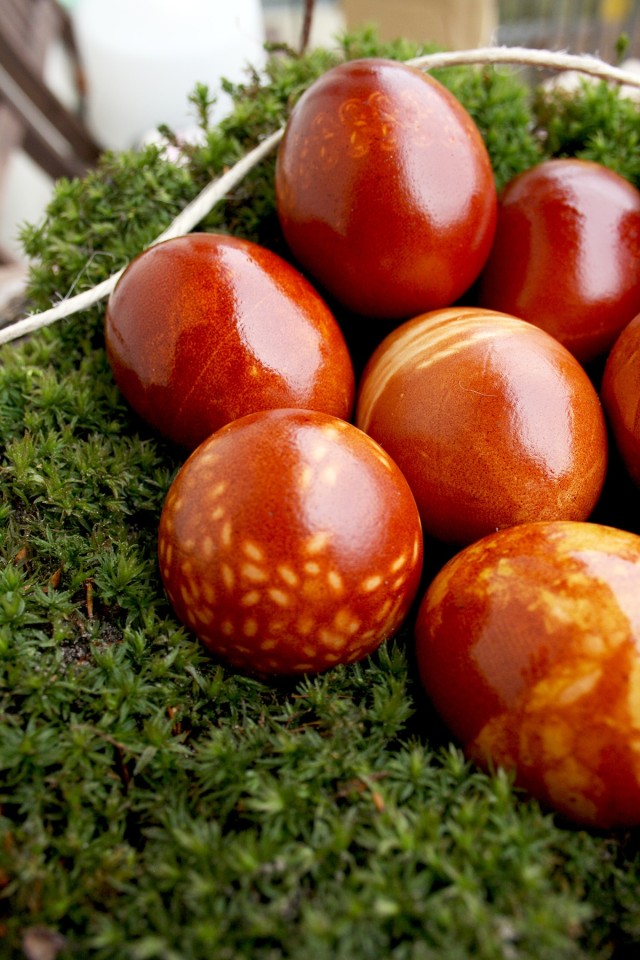
The basic recipe for the natural egg dye with onion skins is to boil them in water, then drain and cook eggs in the red water.
If you want to add some nice patterns to your eggs, you'll need a pair of nylon stocking or 2 pairs of nylon socks and a string.
The idea is to place something on the egg, wrap it in nylon and fix it tightly. After you boil the wrapped egg in onion skins dye, the pattern will be printed on the egg.

Here are five options for you:
Lace bands or ribbons
Wrap a lace strip across your egg. Fix it with a normal pin or a safety pin.
Alternatively, knot the ends of the lace strip and cut the excess. In this case the pattern will be uneven at the spot of the knot. The finer the lace is, the less visible the pattern will be.
Make sure the lace strip is attached very tightly to the egg. It's the most important thing to pay attention to, regardless of which pattern you choose.
Pull the nylon stocking over one hand and place the egg over it. Invert the stocking over the egg, while trying to keep the lace strip at its place. Twist the stocking at a base and tightly tie a string around the base.
Straighten the lace in case it has moved.
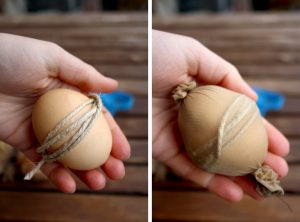
Twine or wool yarn
Wrap a twine or wool yarn strip 3-4 times around the egg. Knot the ends of the strip and cut the excess. Make sure the twine is attached very tightly to the egg.
It's the most important thing to pay attention to, regardless of which pattern you choose. Pull the nylon stocking over one hand and place the egg over it.
Invert the stocking over the egg, while trying to keep the twine strip at its place. Twist the stocking at a base and tightly tie a string around the base.
Straighten the twine string in case it has moved.
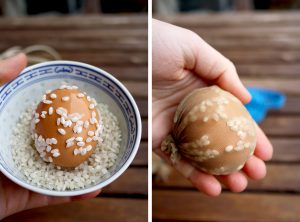
Rice or other grains
This is my favorite technique. It looks so lovely! Put 3-4 tablespoons of uncooked rice (or other grains) into a small bowl. Wash an egg and roll it in rice.
Pull the nylon stocking over one hand and place the egg over it. Invert the stocking over the egg, while trying to keep the rice at its place. Twist the stocking at a base and tightly tie a string around the base.
Move the rice grains under the stocking to reposition them.
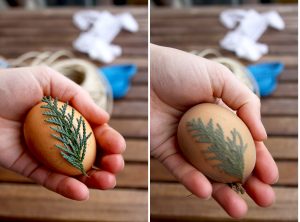
Herbs and leaves
Wash an egg and place a herb leaf on it. Cilantro and parsley work the best as they attach the best. Pull the nylon stocking over one hand and place the egg over it.
Invert the stocking over the egg, while trying not to fold or wrinkle the leaf. Twist the stocking at a base and tightly tie a string around the base.
Very carefully move the leaf under the stocking to reposition it.
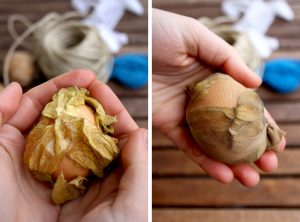
Ground cherry peels or more onion skins for marble effect
Wrap physalis peels or onion skins around an egg. Pull the nylon stocking over one hand and place the egg over it. Invert the stocking over the egg.
Twist the stocking at a base and tightly tie a string around the base.
Move the peels under the stocking to reposition them.
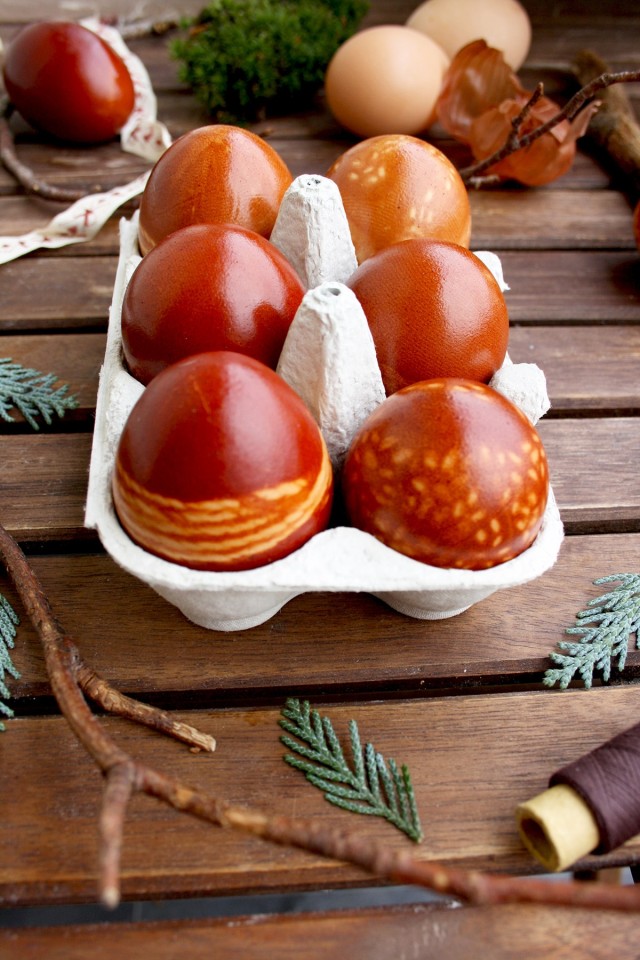
Boil the wrapped eggs in onion skin dye for 15-20 minutes for longer storage. You can use the dye more than once, but your next batches will be darker than your first one.
After eggs are cooked, drain the dye and place eggs in cold water (I also add ice to it to make them cook faster). Wait until they are cool and cut away the stocking.
Remove all the laces, rice, etc with a paper towel.
To make them shiny, coat an egg with olive oil and wipe away the excess with a paper towel. Use the oily paper towel to rub the rest of the eggs with.

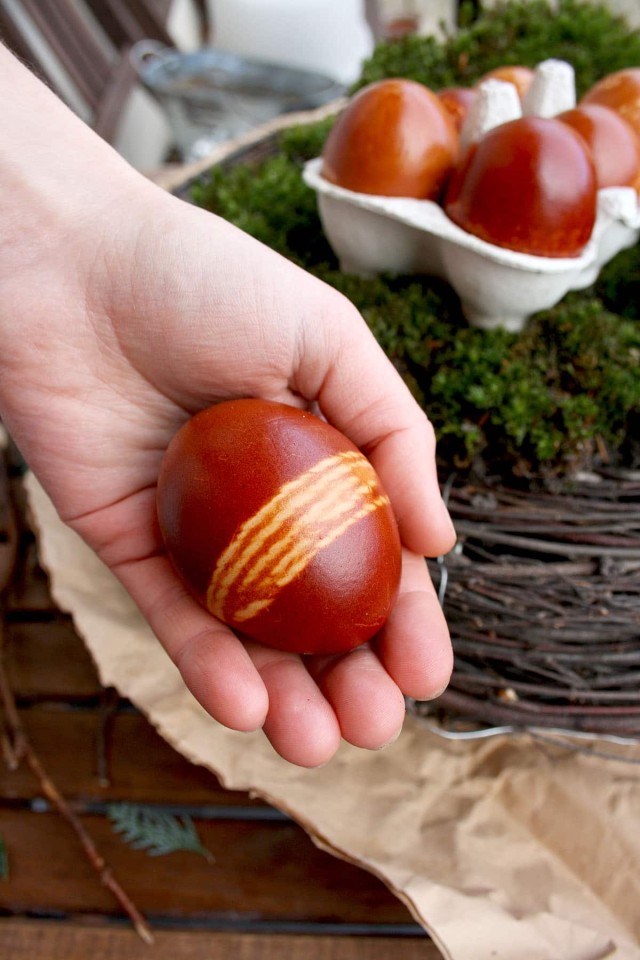
Natural Egg Dye with Onion Skins 5 Ways
Natural Egg Dye with Onion Skins: My grandmother's traditional Russian recipe. The most beautiful, cheap, easy and natural egg dye for your Easter brunch. It gives an amazing range of various shades of red and brown.
Servings 10 servings
Calories 64 kcal
For the eggs:
- 10 washed eggs at room temperature
- dry skins from about 8-10 yellow onions
- 2 teaspoons salt
- 1/2 teaspoon olive oil
- a pair of cheap nylon stockings or 2 pairs of nylon socks
- string
For the patterns:
- 1. Lace bands or ribbons
- 2. Twine or wool yarn
- 3. Rice or other grains
- 4. leaves Herbs and
- 5. Physalis peels or more onion skins for marble effect
-
Boil the onion skins in 1 liter (3 1/2 cups) water for 45-60 minutes. The longer you boil it, the darker will be the dye. Use a sieve to drain the dye and discard the onion skills. While the dye is boiling, start decorating your eggs.

-
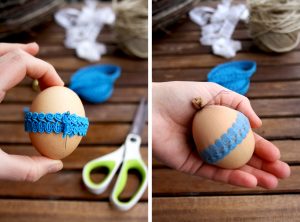
Lace bands or ribbons: Wrap a lace strip across your egg. Fix it with a normal pin or a safety pin. Alternatively, knot the ends of the lace strip and cut the excess. In this case the pattern will be uneven at the spot of the knot. The finer the lace is, the less visible the pattern will be. Make sure the lace strip is attached very tightly to the egg. It's the most important thing to pay attention to, regardless of which pattern you choose. Pull the nylon stocking over one hand and place the egg over it. Invert the stocking over the egg, while trying to keep the lace strip at its place. Twist the stocking at a base and tightly tie a string around the base. Straighten the lace in case it has moved.
-
Twine or wool yarn: Wrap a twine or wool yarn strip 3-4 times around the egg. Knot the ends of the strip and cut the excess. Make sure the twine is attached very tightly to the egg. It's the most important thing to pay attention to, regardless of which pattern you choose. Pull the nylon stocking over one hand and place the egg over it. Invert the stocking over the egg, while trying to keep the twine strip at its place. Twist the stocking at a base and tightly tie a string around the base. Straighten the twine string in case it has moved.
-
Herbs and leaves: Wash an egg and place a herb leaf on it. Cilantro and parsley work the best as they attach the best. Pull the nylon stocking over one hand and place the egg over it. Invert the stocking over the egg, while trying not to fold or wrinkle the leaf. Twist the stocking at a base and tightly tie a string around the base. Very carefully move the leaf under the stocking to reposition it.
-
Physalis peels or more onion skins for marble effect: Wrap physalis peels or onion skins around an egg. Pull the nylon stocking over one hand and place the egg over it. Invert the stocking over the egg. Twist the stocking at a base and tightly tie a string around the base. Move the peels under the stocking to reposition them.
-
Rice or other grains: This is my favorite technique. It looks so lovely! Put 3-4 tablespoons of uncooked rice (or other grains) into a small bowl. Wash an egg and roll it in rice. Pull the nylon stocking over one hand and place the egg over it. Invert the stocking over the egg, while trying to keep the rice at its place. Twist the stocking at a base and tightly tie a string around the base. Move the rice grains under the stocking to reposition them.
-
Add the salt and boil the wrapped eggs in onion skin dye for 15-20 minutes for longer storage. You can use the dye more than once, but your next batches will be darker than your first one. After eggs are cooked, drain the dye and place eggs in cold water (I also add ice to it to make them cook faster). Wait until they are cool and cut away the stocking. Remove all the laces, rice, etc with a paper towel.

-
To make them shiny, coat an egg with olive oil and wipe away the excess with a paper towel. Use the oily paper towel to rub the rest of the eggs with. Enjoy!

Store eggs in the fridge for up to 5 days.
Calories: 64 kcal | Protein: 5 g | Fat: 4 g | Saturated Fat: 1 g | Cholesterol: 163 mg | Sodium: 527 mg | Potassium: 60 mg | Vitamin A: 240 IU | Calcium: 25 mg | Iron: 0.8 mg

What natural egg dye do you like to use? Leave a comment below!
Happy Easter!
Elena
Save
Save


bullardsymaine1985.blogspot.com
Source: https://happykitchen.rocks/natural-egg-dye-with-onion-skins/
0 Response to "Easy Way to Dye Egg Using Onion Skins"
แสดงความคิดเห็น